
A chocolate cake done right is pure magic — rich, moist, and bursting with deep cocoa flavor. While there are countless recipes out there, the difference between “good” and “unforgettable” often comes down to technique and ingredient balance. This guide will walk you through each step of making a flawless chocolate cake, from choosing the best cocoa powder to applying the finishing touches.
Step 1: Gather the Right Ingredients
The quality of your ingredients will directly affect the cake’s taste and texture.
You’ll need:
- All-purpose flour
- Unsweetened cocoa powder (Dutch-processed for a smoother flavor, natural for more acidity)
- Baking powder and baking soda
- Salt
- Granulated sugar
- Eggs (room temperature)
- Whole milk or buttermilk
- Vegetable oil or melted butter
- Boiling water or hot coffee (enhances cocoa flavor)
- Vanilla extract
Pro tip: Weigh your dry ingredients for accuracy.
Step 2: Prepare Your Baking Pans
- Grease pans with butter or non-stick spray.
- Line the bottoms with parchment paper for easy removal.
- Lightly dust with cocoa powder instead of flour to avoid white streaks.
Step 3: Mix Dry Ingredients Separately
Whisk together flour, cocoa powder, baking powder, baking soda, and salt. This ensures even distribution and prevents clumps.
Step 4: Combine Wet Ingredients
In another bowl, whisk sugar, eggs, milk (or buttermilk), and oil until smooth. Add vanilla extract for depth of flavor.
Step 5: Blend and Add Hot Liquid
Gradually mix the dry ingredients into the wet mixture. Then, slowly pour in hot water or coffee — the batter will be thin, but that’s what makes the cake moist.
Step 6: Bake to Perfection
- Preheat the oven to 350°F (175°C).
- Pour the batter evenly into prepared pans.
- Bake for 30–35 minutes, or until a toothpick inserted in the center comes out clean.
Step 7: Cool and Layer
Let cakes cool in their pans for 10 minutes, then turn them out onto a wire rack. Cool completely before frosting to prevent melting.
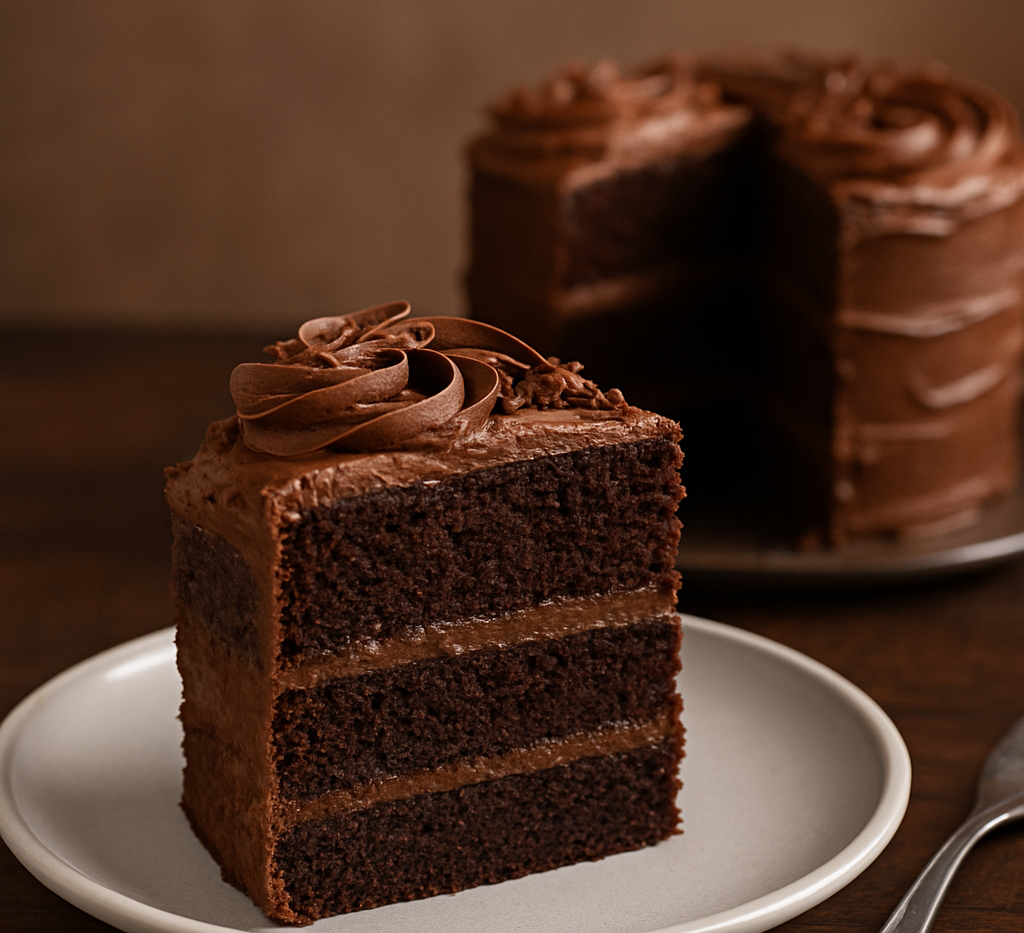
Step 8: Frost with Style
Popular frosting options:
- Chocolate buttercream for richness.
- Whipped cream for lightness.
- Ganache for a glossy, indulgent finish.
Tip: Apply a crumb coat, chill, then add the final layer for a smooth, professional look.
Step 9: Add the Finishing Touches
Decorate with chocolate curls, fresh berries, or a dusting of cocoa powder.
Final Thoughts: The Art of Chocolate Cake
With the right techniques and a bit of patience, anyone can make a chocolate cake that rivals a bakery’s best. This step-by-step process ensures a moist, flavorful cake every time — perfect for celebrations or an indulgent treat at home.