
Ice cream cake is a fun, festive dessert that combines the best of both worlds — rich, creamy ice cream and soft, flavorful cake. It’s ideal for summer birthdays, family celebrations, or anytime you want a cool treat that looks as good as it tastes.
While it may sound complicated, making an ice cream cake at home is surprisingly easy — and you don’t need any fancy equipment. In this guide, you’ll learn how to create a beautiful, delicious ice cream cake from scratch, with tips on flavor combinations, layering, storage, and presentation.
Why Make an Ice Cream Cake?
Homemade ice cream cake offers several advantages:
- Custom flavors and textures
- No preservatives or artificial ingredients
- Can be adapted to dietary needs (gluten-free, dairy-free, etc.)
- Saves money compared to store-bought versions
- Fun to make and decorate!
Basic Components of Ice Cream Cake
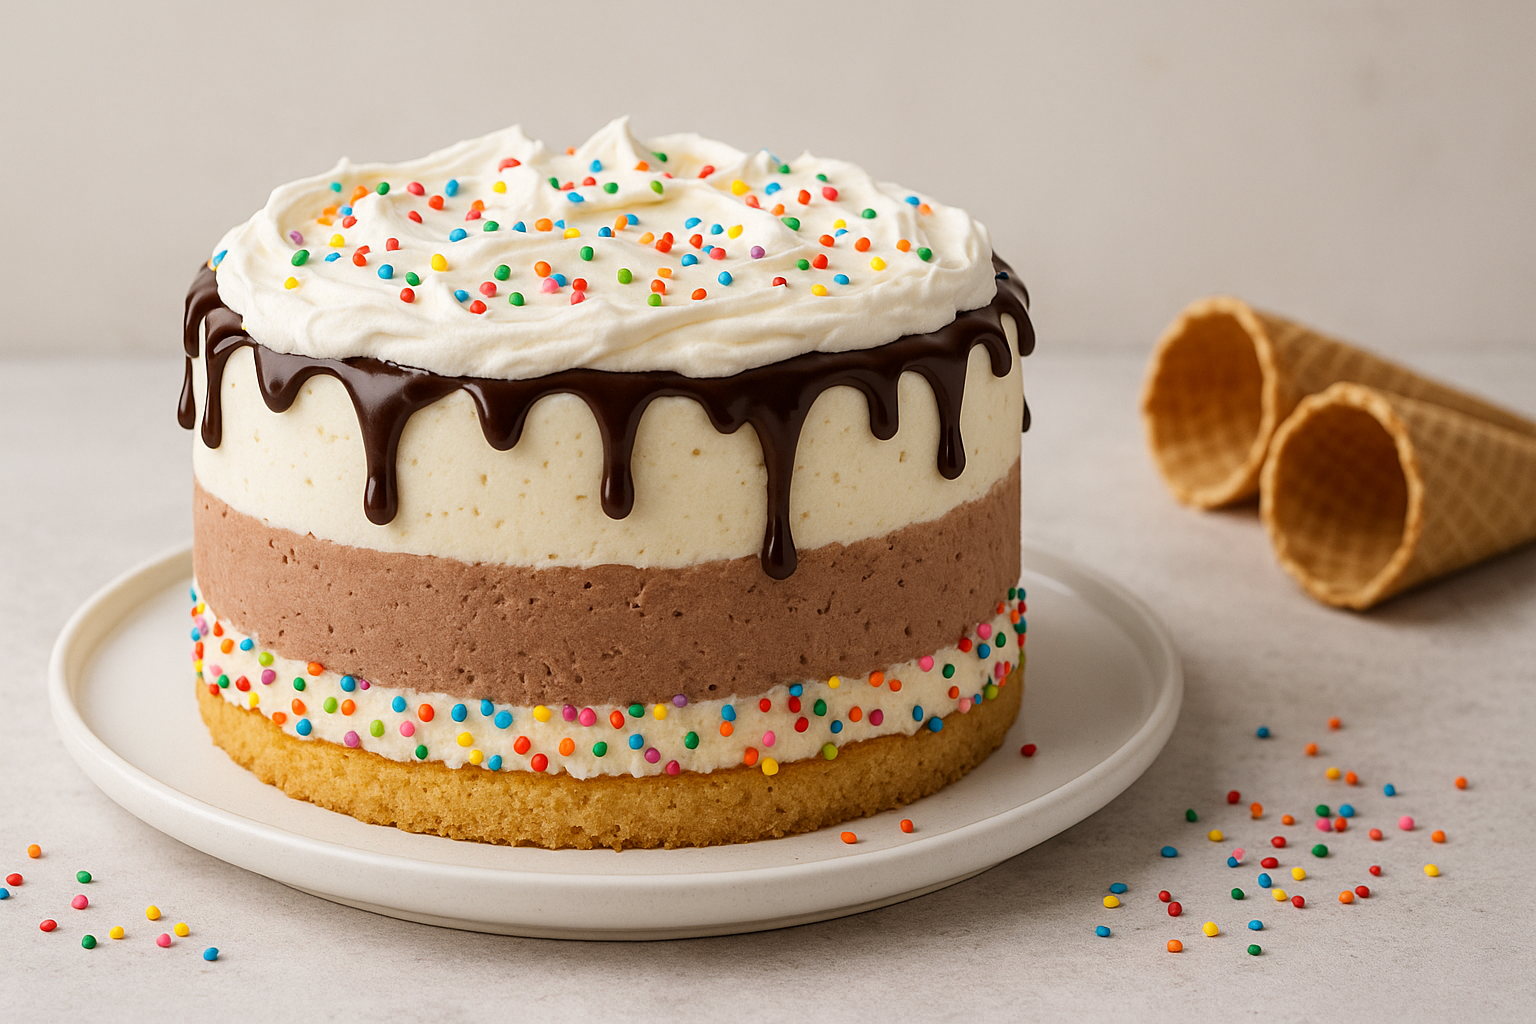
A classic ice cream cake includes the following layers:
- Cake Layer – Vanilla, chocolate, or sponge cake
- Ice Cream Layer – Any flavor(s) of your choice
- Crunch Layer (optional) – Crushed cookies, nuts, or fudge
- Whipped Topping or Frosting – Light and fluffy to contrast the density
- Decorations – Sprinkles, fruits, ganache, caramel, etc.
You can build your cake in a springform pan, loaf pan, or cake ring lined with plastic wrap or acetate.
Ingredients for a 9-Inch Ice Cream Cake
Serves 10–12 slices.
For the Cake Base:
- 1 box of your favorite cake mix or
- 1 homemade cake layer (chocolate or vanilla) baked and cooled
- Trimmed to 1-inch thickness
For the Ice Cream Layers:
- 1.5 quarts (about 1.4 liters) of ice cream (2 flavors work best)
- Let ice cream soften for 10–15 minutes at room temperature
Optional Crunch Layer:
- 1 cup crushed chocolate cookies (like Oreos)
- 3 tbsp melted butter
- Mix and chill to firm up
For Frosting:
- 2 cups heavy cream
- 3 tbsp powdered sugar
- 1 tsp vanilla extract
- Whipped until stiff peaks form
Tools You’ll Need
- Springform pan or deep cake ring
- Parchment paper or plastic wrap
- Offset spatula
- Freezer space
- Serrated knife for clean slices
Step-by-Step: How to Build the Cake
Step 1: Prepare the Pan
Line the bottom and sides of your pan with plastic wrap or acetate sheets. This makes unmolding the cake much easier and cleaner.
Step 2: Add the Cake Base
Place the cake layer at the bottom of the pan. If needed, trim the edges to fit snugly.
Tip: For a crunchier base, use a cookie crumb crust instead of cake.
Step 3: Add First Ice Cream Layer
Scoop and spread the first ice cream flavor evenly over the cake layer. Use an offset spatula to smooth the surface.
Place in the freezer for 30–45 minutes to set.
Step 4: Add Crunch Layer (Optional)
Once the first ice cream layer is firm, sprinkle on the cookie or nut mixture. Press down gently.
This adds texture and breaks up the creamy layers nicely.
Step 5: Add Second Ice Cream Layer
Scoop the second flavor of softened ice cream and spread it evenly over the crunch layer.
Freeze again for at least 1 hour, or until completely firm.
Step 6: Whip and Frost
Whip the heavy cream, sugar, and vanilla until stiff peaks form. Carefully remove the cake from the pan and frost the top and sides with whipped cream.
You can also use:
- Cool Whip
- Swiss meringue
- Chocolate ganache
- Marshmallow fluff
Return to the freezer until ready to serve.
Decorating Ideas
Decorate your ice cream cake with:
- Chocolate ganache drizzle
- Sprinkles or chopped nuts
- Cookie crumbles
- Fresh berries or fruit
- Caramel or fudge swirls
- Ice cream cones or macarons
Get creative! Just be sure decorations are freezer-friendly and added shortly before serving.
Flavor Combinations You’ll Love
Classic Chocolate-Vanilla
- Chocolate cake + vanilla and chocolate ice cream + fudge layer
Cookies & Cream
- Vanilla cake + cookies & cream ice cream + Oreo crumb layer
Tropical Mango Delight
- Sponge cake + mango and coconut ice cream + toasted coconut topping
Strawberry Shortcake
- Vanilla cake + strawberry ice cream + graham cracker crunch
Coffee Caramel Crunch
- Chocolate cake + coffee ice cream + caramel swirl and nuts
How to Slice and Serve
- Remove cake from the freezer 10 minutes before serving
- Use a hot, sharp knife (run under hot water and wipe)
- Slice cleanly and wipe the knife between cuts
- Serve on chilled plates for slower melting
Make-Ahead and Storage Tips
- You can make this cake 3–5 days in advance
- Keep tightly wrapped in the freezer to avoid freezer burn
- Store extra slices in airtight containers or wrap individually
Avoid refreezing slices once thawed — texture may be compromised.
Dietary Adaptations
Gluten-Free:
- Use gluten-free cake mix or almond flour cake
- Use certified gluten-free ice cream
Dairy-Free or Vegan:
- Use coconut or oat-based ice cream
- Replace whipped cream with coconut whipped topping
- Use vegan cake layer
Low-Sugar:
- Use sugar-free ice cream
- Skip crunch layer or use nuts/seeds
- Frost with unsweetened cream or Greek yogurt blend
Common Mistakes to Avoid
Ice cream too hard to spread?
Let it soften for 10–15 minutes before assembling.
Layers not even?
Use a ruler or eyeball carefully and smooth each layer well.
Cake too soft?
Make sure it’s completely cool before layering. Chill between layers to avoid melting.
Frosting melting?
Work quickly and frost with cold whipped cream. Keep the cake chilled until serving.
Frequently Asked Questions
Can I use store-bought pound cake or brownies as the base?
Absolutely! Pre-made bases save time and add extra richness.
Do I need a springform pan?
No, but it helps. You can use a loaf pan lined with plastic wrap for easy removal.
How long does it need to freeze?
Each layer needs about 30–60 minutes. After final assembly, freeze for 4–6 hours minimum, preferably overnight.
Can I make it in cupcake form?
Yes! Use muffin tins lined with cupcake liners. Great for individual portions.
Final Thoughts: The Ultimate Celebration Cake
Ice cream cake is fun, festive, and endlessly customizable. Whether you keep it classic or explore adventurous combinations, this frozen dessert is sure to impress guests and satisfy cravings — especially on a hot day.
The best part? You can tailor every layer to your tastes, make it ahead, and enjoy every creamy, cool, and crunchy bite.