Introduction
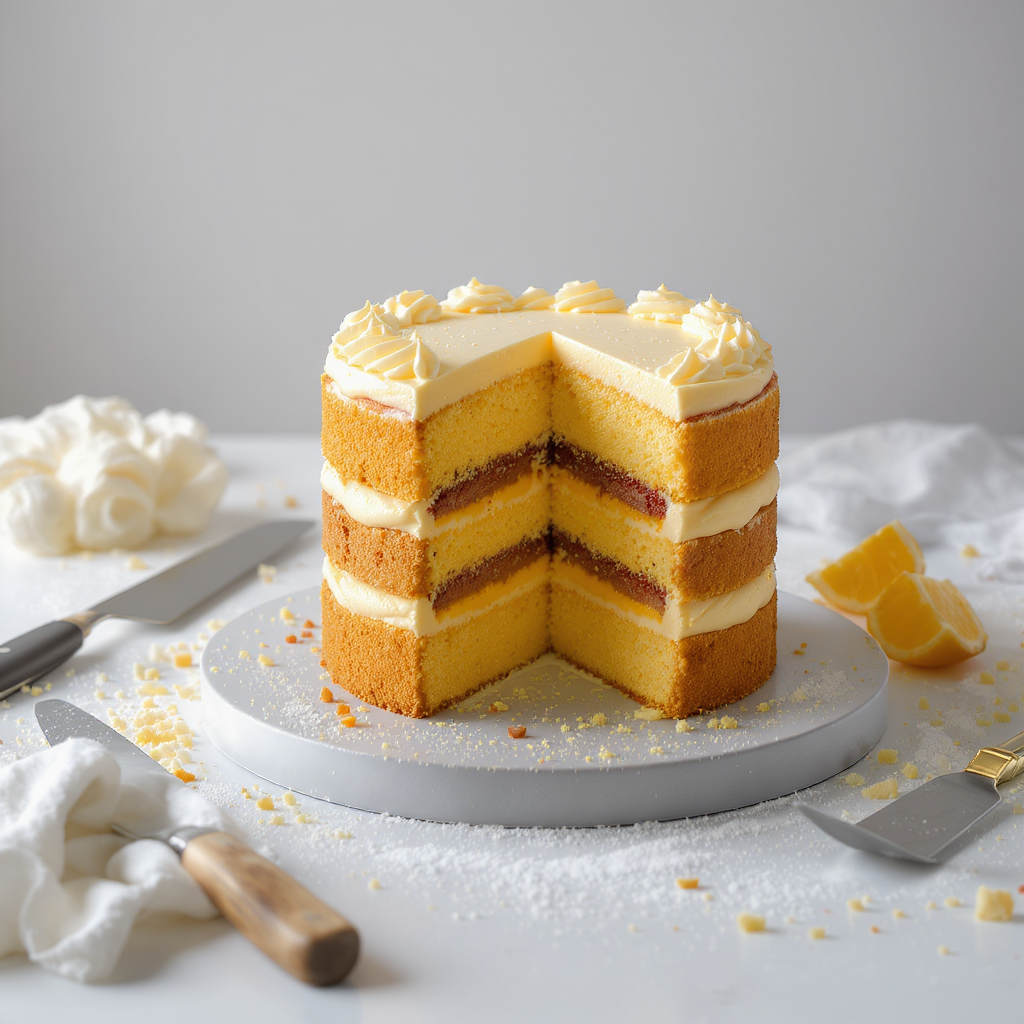
A beautifully layered cake isn’t just about taste — it’s also about presentation. Whether you’re making a celebration cake or just want your homemade creations to look bakery-quality, learning how to properly level and layer a cake is essential. This skill ensures your cake is stable, visually appealing, and easy to frost without sliding or leaning.
Why Leveling Matters
When a cake bakes, the edges often rise higher than the center due to oven heat distribution. Left uneven, your layers may tilt, causing gaps in the frosting or even structural collapse. Leveling solves these problems by creating a flat, even surface.
Tools You’ll Need
- Serrated bread knife or cake leveler
- Turntable (optional, but helps with control)
- Cake boards for support
- Offset spatula for frosting
- Piping bags (optional, for even filling distribution)
Step 1: Cooling Your Cakes Properly
- Let cakes cool in the pan for 10–15 minutes after baking.
- Turn them out onto a wire rack to cool completely before cutting.
- Cutting warm cakes increases the risk of tearing or crumbling.
Step 2: Leveling the Cake
- Place the cake on a flat surface or turntable.
- Hold the knife parallel to the table.
- Slowly slice off the domed top, rotating the cake as you cut.
- Keep your hand steady to ensure an even cut.
Pro tip: Save trimmed tops — they’re perfect for taste testing, making cake pops, or crumbling over ice cream.
Step 3: Slicing Layers Evenly
- For tall cakes, slice each layer into two thinner layers for more filling.
- Mark the cake’s side with toothpicks to guide your knife.
- Use a gentle sawing motion, not pressing down, to avoid compressing the crumb.
Step 4: Preparing the Cake Board
- Place a small dab of frosting on the cake board before placing the first layer.
- This “glue” holds the cake steady during assembly.
Step 5: Adding the Filling
- Pipe a ring of frosting around the edge of the layer to keep softer fillings from leaking out.
- Spread the filling evenly inside the ring using an offset spatula.
- Avoid overfilling — too much can make layers slip.
Step 6: Stacking the Layers
- Align each layer directly over the one below to prevent leaning.
- Press down gently to secure.
- Rotate the cake as you go to ensure alignment from all angles.
Step 7: Crumb Coating
- Apply a thin layer of frosting to seal in crumbs.
- Refrigerate the cake for 15–30 minutes to set the crumb coat.
- This step ensures your final layer of frosting goes on smoothly.
Step 8: Final Frosting
- Spread frosting evenly over the cake, starting from the top and moving down the sides.
- Use a bench scraper or long spatula to smooth surfaces.
- Chill again if needed before adding decorations.
Common Mistakes to Avoid
- Cutting warm cakes: Causes crumbling and uneven cuts.
- Skipping the crumb coat: Leads to a messy final finish.
- Uneven pressure while slicing: Creates slanted layers.
- Too much filling: Can cause instability.
Advanced Layering Tips for Professionals
- Use baking strips: Wrapping pans in damp baking strips before baking reduces doming.
- Invert cakes before leveling: The bottom is naturally flatter.
- Measure with a ruler: Precision ensures consistent layer height.
- Chill layers before stacking: Cold cakes are easier to handle and less likely to break.
When to Use Dowels or Supports
For multi-tier cakes, internal supports are crucial:
- Insert dowels into the base tiers to support upper layers.
- Use a central dowel through all tiers for stability during transport.
Creative Layering Ideas
- Alternate different cake flavors in one cake.
- Use textured fillings like chopped nuts, fruit compote, or cookie crumbs for variety.
- Add a thin layer of jam or curd for a flavor boost without overpowering the frosting.
Final Thoughts: Building Cakes That Impress
Mastering the art of leveling and layering takes patience and practice, but it elevates your cake game to a whole new level. With precise cuts, thoughtful assembly, and proper support, you can create cakes that are both visually stunning and structurally sound — ready to impress at any occasion.

