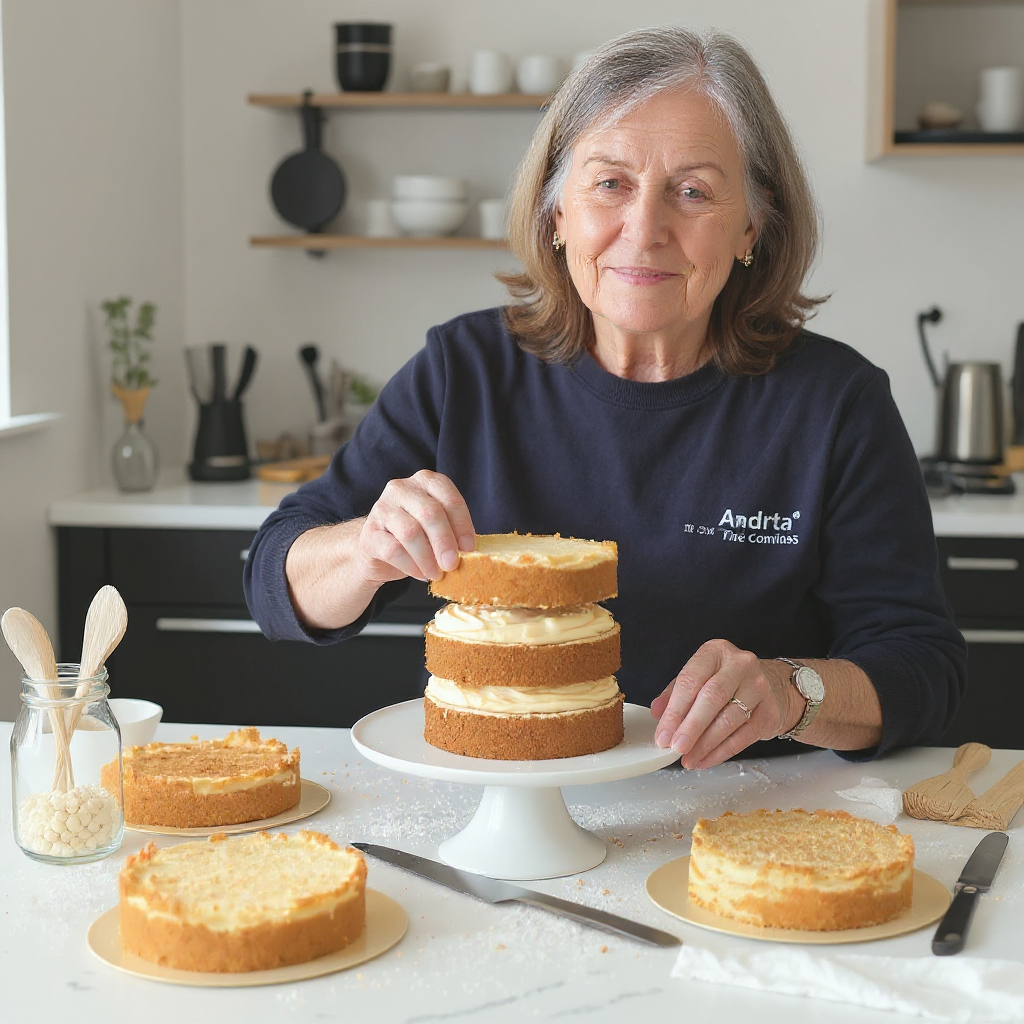
A perfectly layered cake is more than just a treat — it’s a visual masterpiece. Whether it’s a birthday, wedding, or casual celebration, the way a cake is layered affects not only its appearance but also its texture and flavor in every bite. Layering might seem intimidating, but with the right techniques and a few professional tips, you can achieve bakery-quality results at home.
Why Layering Matters
A well-layered cake:
- Distributes frosting evenly for balanced flavor.
- Improves structural stability.
- Creates a visually appealing presentation.
Poor layering can lead to uneven slices, collapsing cakes, or dry sections without enough filling.
Essential Tools for Layering Cakes
- Cake leveler or serrated knife: For trimming and leveling cake tops.
- Cake turntable: Allows smooth frosting application.
- Offset spatula: For even spreading of fillings and frosting.
- Piping bag: To create frosting dams that hold fillings in place.
Preparing Your Cake for Layering
- Bake Even Layers – Divide batter equally into pans for uniform height.
- Cool Completely – Never layer a warm cake; it will melt the frosting.
- Level Each Layer – Trim domed tops for a stable stack.
- Chill Layers – Cold cake is easier to handle and less likely to crumble.
Step-by-Step: Layering a Cake
Step 1: Place the Base Layer
- Position the first cake layer on a cake board or plate.
- Spread a small amount of frosting underneath to keep it in place.
Step 2: Create a Frosting Dam
- Pipe a ring of frosting around the edge of the layer.
- This prevents soft fillings (like jam or cream) from oozing out.
Step 3: Add the Filling
- Spread your chosen filling inside the frosting dam.
- Avoid overfilling, which can cause slipping.
Step 4: Repeat for Additional Layers
- Continue stacking, ensuring each layer is centered and level.
Step 5: Apply a Crumb Coat
- Spread a thin layer of frosting over the entire cake to trap crumbs.
- Chill for 15–30 minutes before adding the final coat.
Step 6: Finish with the Final Frosting Layer
- Apply frosting evenly, smoothing with a spatula for a professional look.
Filling Ideas for Layered Cakes
- Buttercream: Classic and versatile.
- Ganache: Rich and decadent.
- Fruit preserves: Adds freshness and tartness.
- Whipped cream: Light and airy, but best for short-term serving.
Professional Tips for Perfect Layers
- Measure thickness of each layer for uniformity.
- Alternate textures by pairing dense layers with creamy fillings.
- Add stability with dowels for tall or multi-tiered cakes.
- Chill between steps to keep the cake firm during assembly.
Common Mistakes to Avoid
- Skipping the crumb coat: Leads to messy frosting.
- Uneven trimming: Results in a leaning cake.
- Overloading fillings: Causes layers to slide apart.
Decorating After Layering
Once layered, your cake is ready for decoration. Consider:
- Piped borders for elegance.
- Fresh flowers for natural beauty.
- Chocolate shavings for texture and flavor contrast.
Final Thoughts: From Home Baker to Cake Artist
Mastering cake layering opens the door to creative possibilities. By practicing these techniques and paying attention to detail, you can transform a simple cake into a stunning centerpiece worthy of any occasion. The more you layer, the more confident you’ll become — and soon, your cakes will look as good as they taste.

