
Frosting a cake is more than just spreading icing on top — it’s an art form that transforms a simple baked good into a show-stopping centerpiece. Whether you’re preparing a birthday cake, a wedding centerpiece, or just a weekend treat, mastering professional frosting techniques can elevate your creations to bakery-level beauty. This guide will walk you through the tools, methods, and tips used by pros to achieve flawless, smooth finishes and creative designs.
Choosing the Right Frosting
Not all frostings are created equal, and the type you choose affects the look, flavor, and stability of your cake.
- Buttercream: Creamy, versatile, and perfect for piping decorations. Variations include American, Swiss meringue, and Italian meringue.
- Ganache: Made from chocolate and cream, ideal for a glossy, rich finish.
- Whipped cream frosting: Light and airy but less stable in warm environments.
- Cream cheese frosting: Tangy and delicious, perfect for carrot and red velvet cakes.
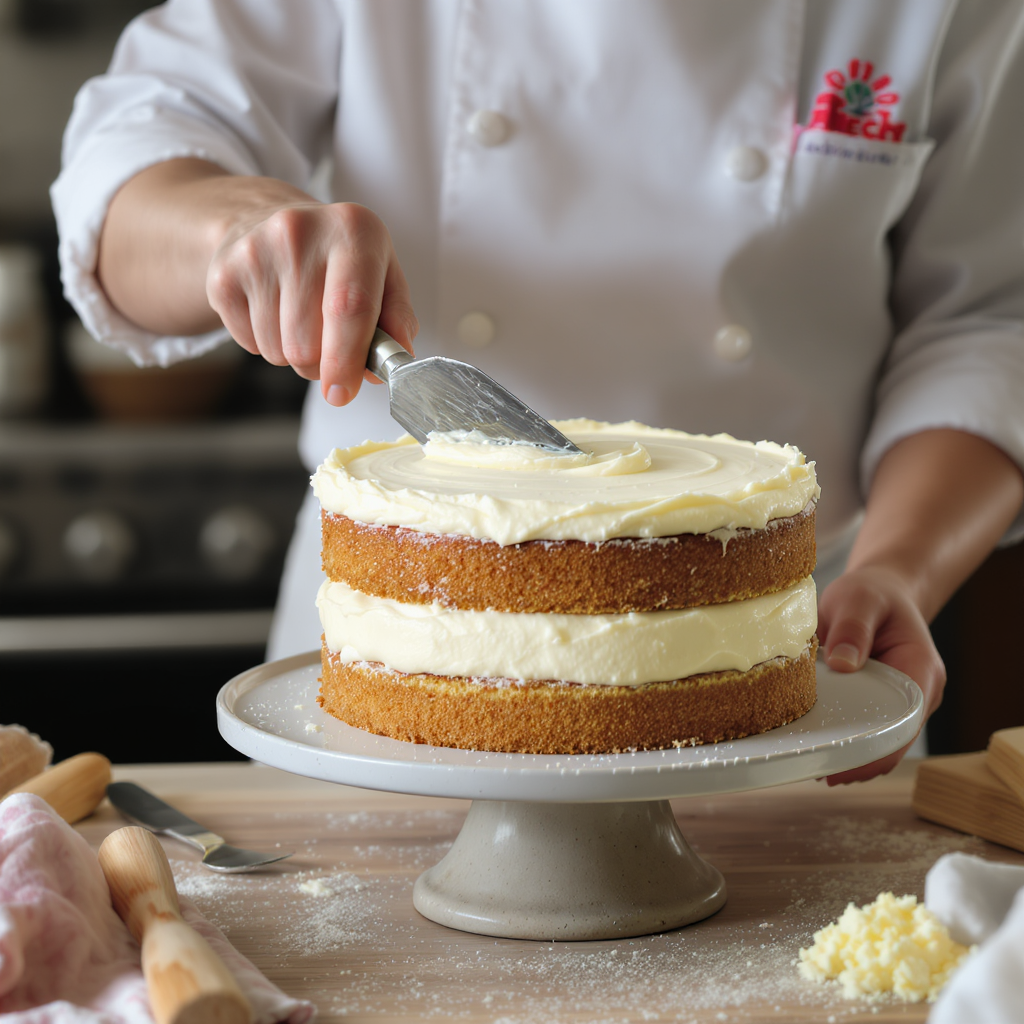
Essential Tools for Professional Results
You don’t need a fully equipped bakery to frost like a pro, but a few tools make a huge difference:
- Offset spatula: For spreading frosting evenly.
- Bench scraper: To smooth sides for a clean look.
- Turntable: Allows you to spin the cake while applying frosting, ensuring even coverage.
- Piping bags and tips: For decorative borders, flowers, and lettering.
Preparing the Cake for Frosting
- Level the layers: Use a serrated knife or cake leveler to trim domed tops for a stable stack.
- Chill the cake: Cold cakes are easier to frost and less likely to shed crumbs.
- Brush with syrup: A simple sugar syrup can keep layers moist and add flavor.
The Crumb Coat
The crumb coat is a thin layer of frosting that traps crumbs and creates a smooth base.
- Spread a small amount of frosting over the entire cake.
- Smooth it with your offset spatula, ensuring all crumbs are covered.
- Chill for at least 20 minutes before applying the final coat.
Applying the Final Layer
- Place the cake on a turntable.
- Add a generous dollop of frosting to the top and spread evenly.
- Apply frosting to the sides, starting with more than you think you’ll need; you can scrape off excess later.
- Use a bench scraper to smooth the sides while turning the cake.
- Smooth the top edges by gently pulling frosting inward with your spatula.
Creating Decorative Finishes
Once the cake is frosted smoothly, you can add texture and flair:
- Rustic swirls: Use the back of a spoon or spatula for artistic, casual designs.
- Piped borders: Use a star tip for elegant edges.
- Textured comb finish: Drag a cake comb along the sides for patterns.
- Fresh fruit or flowers: Add natural beauty and color.
Common Frosting Mistakes and How to Avoid Them
- Crumbs in the final coat: Always apply a crumb coat first.
- Uneven sides: Keep your spatula or scraper steady and rotate the cake smoothly.
- Melting frosting: Work in a cool environment and chill the cake between steps if needed.
Pro Tips for Stunning Results
- Always start with more frosting than you think you’ll need; scraping off excess gives cleaner edges.
- Keep tools clean and wipe often for a polished look.
- For sharp edges, chill the cake after the final coat, then run a hot spatula along the edges.
Example Recipe: Simple Vanilla Buttercream
Ingredients:
- 1 cup unsalted butter, softened
- 4 cups powdered sugar
- 2–3 tbsp milk or cream
- 2 tsp vanilla extract
Instructions:
- Beat butter until creamy.
- Gradually add powdered sugar, mixing on low.
- Add milk and vanilla, beating until light and fluffy.
- Adjust consistency by adding more milk (for softer frosting) or sugar (for thicker frosting).
Final Thoughts: Confidence in Cake Decorating
Professional-looking cakes come from practice, patience, and a few simple techniques. By understanding the right tools, mastering the crumb coat, and experimenting with decorative finishes, you can turn any cake into a beautiful, polished creation worthy of a bakery display. With each cake you frost, your confidence — and your artistry — will grow.