
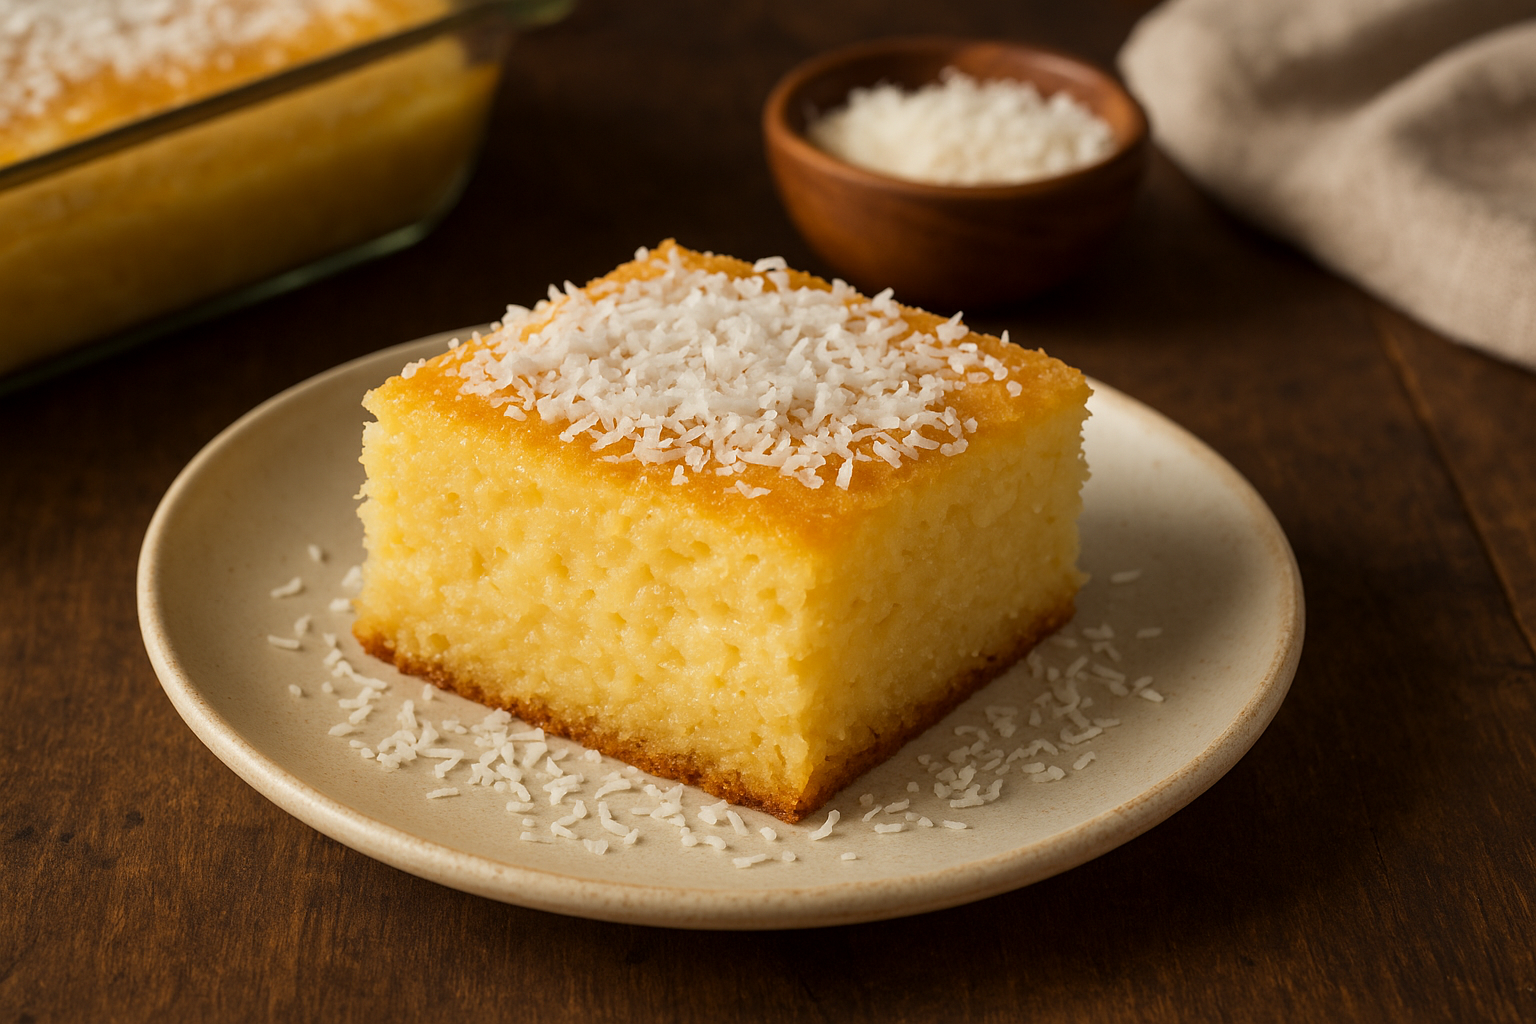
Cassava, also known as yuca or mandioca, is a beloved root vegetable in Brazilian cuisine. When baked into a cake, it transforms into a dense, creamy, and irresistibly rich dessert that’s naturally gluten-free and perfect for gatherings, coffee breaks, or festive occasions. The creamy cassava cake (or bolo de aipim cremoso) is one of the most traditional and comforting treats in Brazil.
In this guide, you’ll learn how to make a homemade cassava cake with a soft, custard-like texture, tips to avoid dryness, optional flavorings like coconut and cheese, and variations for different dietary needs.
Why Cassava Cake?
Cassava cake is:
- Naturally moist and dense, almost like a pudding-cake
- Easy to make in one bowl or blender
- Customizable with coconut, condensed milk, or cheese
- Gluten-free, since cassava contains no wheat
- Popular across Brazil, the Caribbean, the Philippines, and beyond
Its slightly chewy texture and sweet flavor make it a standout among traditional cakes.
Ingredients for Creamy Cassava Cake (9×13-inch Pan)
This recipe yields 12–15 generous slices.
Base Ingredients:
- 1 kg (about 6 cups) grated cassava (fresh or frozen)
- 1 can (395g) sweetened condensed milk
- 1 can (400ml) coconut milk
- 1 can (300ml) evaporated milk or regular milk
- 3 large eggs
- 2 tablespoons butter (melted)
- 1 cup (200g) sugar (adjust to taste)
- ½ teaspoon salt
- 1 teaspoon vanilla extract
- ½ cup (40g) shredded coconut (optional)
- ½ cup (50g) grated Parmesan cheese (optional but traditional in Brazil)
Note: If using frozen cassava, thaw and squeeze out excess liquid before using.
Optional Toppings:
- Shredded coconut
- Grated cheese
- Caramel drizzle
- Dulce de leche
- Powdered sugar
Step-by-Step Instructions
Step 1: Prepare the Cassava
If using fresh cassava, peel and grate it finely. Be sure to remove the tough fibers in the center. If using frozen cassava, thaw fully and squeeze out extra moisture using a clean towel.
Do not use cassava flour or tapioca starch — they behave differently from grated cassava.
Step 2: Mix the Ingredients
In a large bowl or blender, combine:
- Grated cassava
- Sweetened condensed milk
- Coconut milk
- Evaporated milk
- Eggs
- Melted butter
- Sugar
- Salt
- Vanilla
- Shredded coconut (if using)
- Parmesan cheese (if using)
Mix until fully combined and smooth. The batter will be thick but pourable.
Step 3: Preheat and Prepare the Pan
Preheat your oven to 350°F (175°C). Grease a 9×13-inch baking dish with butter or non-stick spray.
Pour the batter into the prepared pan and tap gently to level.
Step 4: Bake
Bake uncovered for 50–65 minutes, or until the top is golden and a toothpick inserted in the center comes out mostly clean (the inside will stay creamy).
The cake should be firm around the edges but slightly jiggly in the center — like a custard.
Step 5: Cool and Serve
Let the cake cool completely in the pan. It will set further as it cools.
Slice into squares and serve warm, room temperature, or chilled.
Serving Suggestions
- Sprinkle shredded coconut or powdered sugar over the top before serving.
- Top with dulce de leche or sweetened condensed milk drizzle.
- Serve with coffee or tea for a classic Brazilian-style merenda (afternoon snack).
- Add a dollop of whipped cream or vanilla ice cream for extra indulgence.
Make-Ahead and Storage
Cassava cake keeps very well, and the texture improves after chilling.
- Room temp: Up to 1 day, covered
- Fridge: 5–6 days in an airtight container
- Freezer: Up to 2 months; wrap slices tightly and thaw before reheating
To reheat, warm slices in the microwave for 20–30 seconds or in the oven at 300°F for 10 minutes.
Flavor Variations
Coconut Lovers’ Cassava Cake
- Use only coconut milk (double quantity)
- Add 1 tsp coconut extract
- Top with toasted coconut flakes
Cheese-Enhanced Version
- Use more Parmesan or add ½ cup mozzarella to the batter
- Top with shredded cheese during the last 10 minutes of baking
Cassava Cake with Fruit
- Add chunks of pineapple, mango, or banana to the batter
- Swirl in fruit puree or preserves for added moisture
Filipino-Style Cassava Cake
- Use less cheese and top with a cooked coconut custard layer (latik)
- Decorate with a caramelized coconut glaze
Tips for Success
- Don’t overbake: Cassava cake should remain moist and creamy, not dry
- Blend thoroughly if you want a smoother texture
- For chunkier texture, grate cassava coarsely and skip blending
- Use a glass or ceramic baking dish for even cooking and better setting
- If using reduced sugar versions, taste the batter first and adjust sweetness
Health and Nutritional Notes
- Cassava is naturally gluten-free and high in complex carbohydrates
- Coconut milk adds healthy fats and flavor
- Eggs contribute protein and structure
- Can be made dairy-free by omitting cheese and replacing evaporated milk with almond or soy milk
Frequently Asked Questions
Can I use cassava flour or tapioca starch instead?
No — grated cassava has a completely different texture and moisture content.
Why is my cake runny in the middle?
That’s normal! The inside stays creamy. If it’s very runny, it may need a few extra minutes in the oven.
Is the cheese necessary?
No. It’s traditional in Brazilian versions but optional. You can omit it for a sweet-only cake.
Can I make this in a round pan or muffin tin?
Yes! Adjust baking time accordingly:
- Round pan: 45–50 minutes
- Muffin tins: 20–25 minutes
Can I reduce the sugar?
Yes. With the condensed milk, this cake is naturally sweet. Feel free to reduce the added sugar by ¼ to ½ cup.
Final Thoughts: A Cake Full of Culture and Comfort
Creamy cassava cake is more than just a dessert — it’s a connection to cultural roots, home cooking, and shared family traditions. Whether you’re making it for a holiday table or a cozy afternoon with coffee, this cake delivers flavor, texture, and nostalgia in every bite.
It’s easy to prepare, endlessly customizable, and sure to impress anyone who tries it — even those unfamiliar with cassava. Once you’ve tasted a slice, don’t be surprised if it becomes a staple in your dessert rotation.