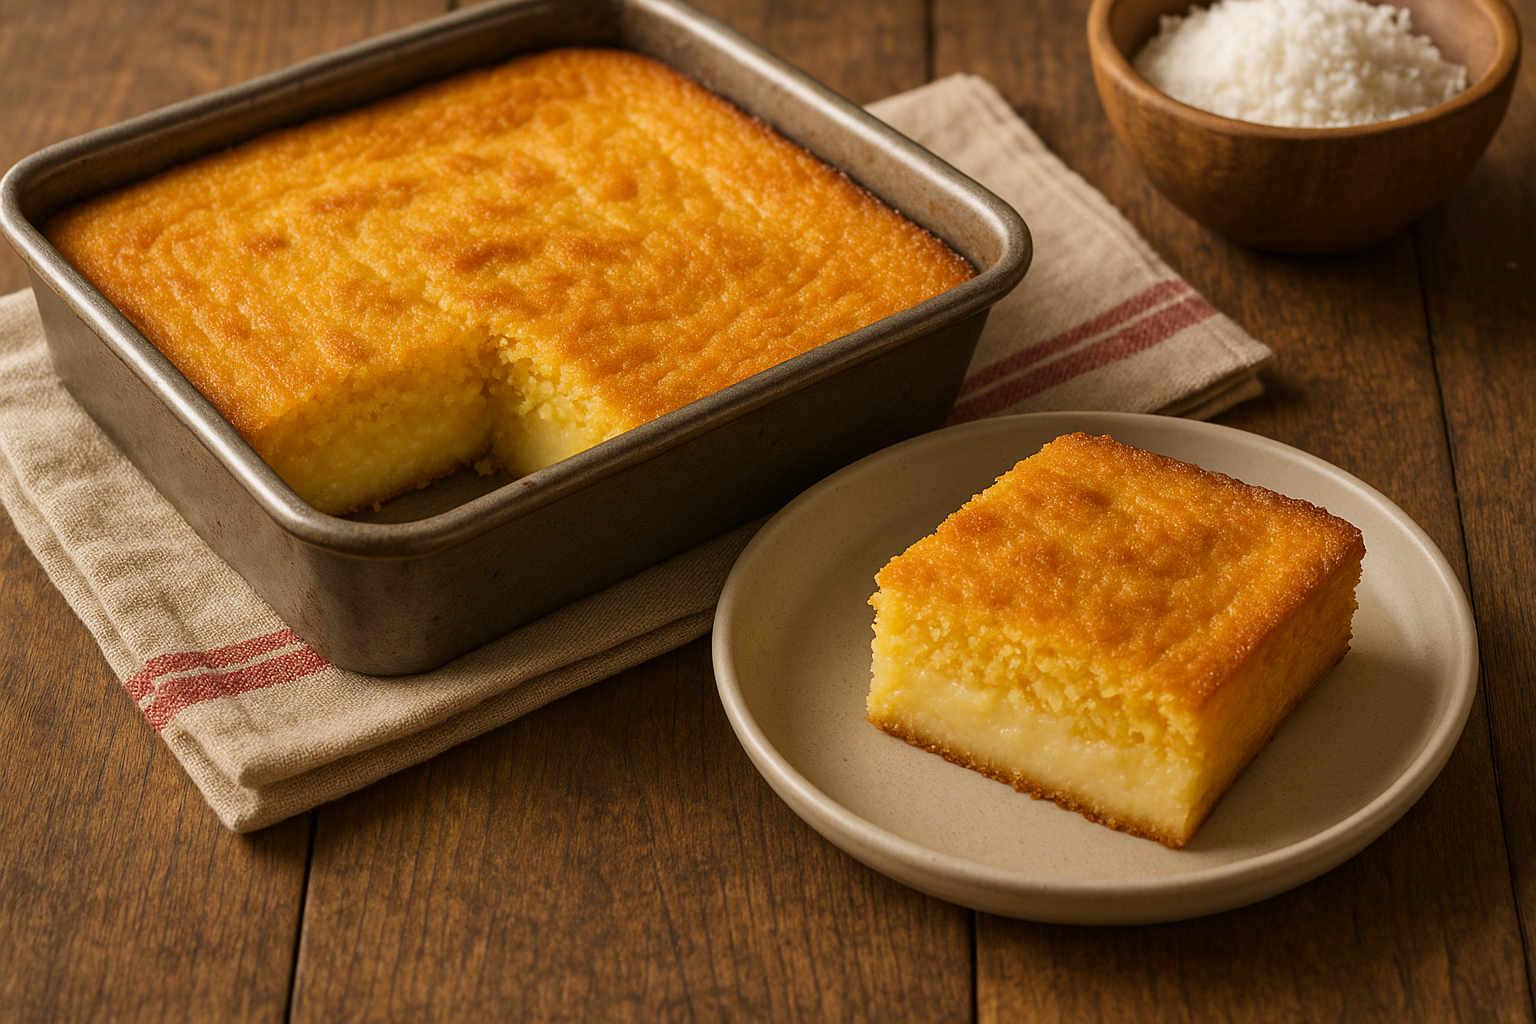
Red velvet cake is a classic that combines beauty, flavor, and a unique texture. Its rich red color and subtle chocolate taste make it a favorite for special occasions — but did you know it’s actually quite easy to make at home? Whether you’re a beginner or someone looking to perfect their technique, this guide will walk you through how to create a red velvet cake that’s moist, flavorful, and stunning.
Understanding Red Velvet Cake
Red velvet cake is often mistaken for just chocolate cake dyed red, but it’s much more than that. What makes red velvet distinct is its mild cocoa flavor, slightly tangy taste from the buttermilk and vinegar, and velvety texture. The red color, while now achieved with food coloring, was originally a natural reaction between cocoa powder and acidic ingredients.
Ingredients You’ll Need
Here’s a list of common ingredients for a simple yet delicious red velvet cake:
For the cake:
- 2 ½ cups (315g) all-purpose flour
- 1 ½ cups (300g) granulated sugar
- 1 teaspoon baking soda
- 1 teaspoon salt
- 1 teaspoon cocoa powder (unsweetened)
- 1 ½ cups (360ml) vegetable oil
- 1 cup (240ml) buttermilk (room temperature)
- 2 large eggs (room temperature)
- 2 tablespoons red food coloring
- 1 teaspoon vanilla extract
- 1 teaspoon white vinegar
For the frosting (classic cream cheese):
- 8 oz (225g) cream cheese (softened)
- ½ cup (115g) unsalted butter (softened)
- 2 cups (240g) powdered sugar
- 1 teaspoon vanilla extract
Step-by-Step Instructions
1. Prepare Your Baking Pans
Preheat your oven to 350°F (175°C). Grease two 9-inch round cake pans and line the bottoms with parchment paper for easy removal.
2. Mix Dry Ingredients
In a large bowl, sift together the flour, sugar, baking soda, salt, and cocoa powder. Sifting ensures your batter is smooth and lump-free.
3. Mix Wet Ingredients Separately
In another bowl, whisk together the oil, buttermilk, eggs, food coloring, vanilla, and vinegar until fully combined.
4. Combine the Mixtures
Gradually add the wet ingredients to the dry ingredients. Use a spatula or electric mixer on low speed, mixing just until everything is well incorporated. Be careful not to overmix — this helps the cake stay soft and tender.
5. Pour and Bake
Divide the batter evenly between the two prepared pans. Smooth the tops and tap them gently on the counter to release any air bubbles.
Bake for 30–35 minutes, or until a toothpick inserted into the center comes out clean. Let the cakes cool in the pans for 10 minutes, then transfer them to a wire rack to cool completely.
6. Make the Cream Cheese Frosting
In a large bowl, beat the cream cheese and butter until creamy and fluffy. Slowly add in the powdered sugar and continue beating until smooth. Finish with the vanilla extract.
7. Assemble and Frost the Cake
Once the cake layers are completely cool, place one layer on a cake plate. Spread a generous amount of frosting on top. Add the second layer and frost the top and sides of the cake.
Optional: Crumb Coating
For a professional finish, apply a thin layer of frosting (called a crumb coat) to seal in the crumbs. Chill the cake for 30 minutes, then apply a final thick coat of frosting.
Tips for a Perfect Red Velvet Cake
- Use room temperature ingredients: It helps everything mix better and evenly.
- Don’t skip the vinegar: It reacts with the baking soda and buttermilk to give the cake its soft texture.
- Don’t overmix the batter: Overmixing can make the cake tough.
- Chill before slicing: Let the frosted cake sit in the fridge for at least 30 minutes for clean slices.
Creative Variations
- Cupcakes: Use the same batter to make about 24 cupcakes. Bake for 18–20 minutes.
- Layer with fruit: Add sliced strawberries or raspberries between layers.
- Add chocolate chips: For a twist, mix mini chocolate chips into the batter.
Final Thoughts
Making a red velvet cake at home doesn’t have to be complicated. With the right ingredients and a few smart tips, you can prepare a dessert that’s not only delicious but also visually stunning. Whether it’s for a birthday, holiday, or just a treat for yourself, this red velvet cake recipe is sure to impress.

