Introduction
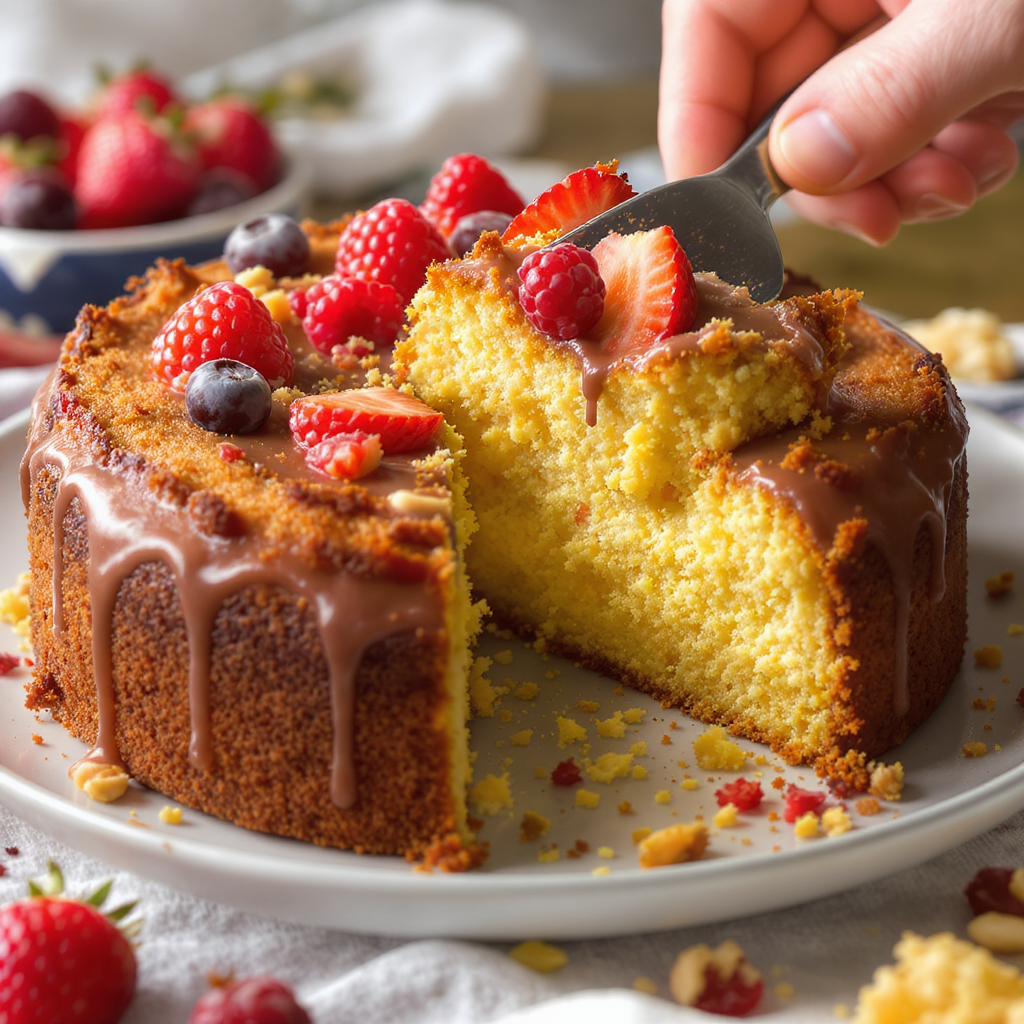
Baking a gluten-free cake that rivals its traditional counterpart in flavor and texture can seem like an impossible challenge. Many gluten-free cakes end up dry, crumbly, or dense. However, with the right combination of flours, binders, and techniques, you can create gluten-free cakes that are moist, fluffy, and delicious — without sacrificing taste.
Understanding Gluten and Its Role in Cakes
Gluten is a protein found in wheat, barley, and rye. In baking, gluten provides structure, elasticity, and a tender crumb. Without it, cakes need alternative ingredients to replicate these properties.
Common Problems in Gluten-Free Baking
- Dry texture: Gluten-free flours can absorb more liquid.
- Crumbly structure: Without gluten, cakes may not hold together well.
- Bland flavor: Some alternative flours have neutral or unusual flavors that require balancing.
Choosing the Right Gluten-Free Flours
Using just one type of gluten-free flour often leads to poor results. Instead, use a blend:
1. Rice Flour
- Light texture but can be gritty if not milled finely.
2. Almond Flour
- Adds richness and moisture but can make cakes denser.
3. Sorghum Flour
- Mild flavor, works well in blends.
4. Coconut Flour
- Extremely absorbent, requires extra moisture in the recipe.
5. Oat Flour (Certified Gluten-Free)
- Softens texture and adds a subtle sweetness.
Pro Tip: Ready-made gluten-free flour blends can simplify baking, but check that they contain a binder like xanthan gum.
The Role of Binders
Binders replace gluten’s elasticity and hold the cake together:
- Xanthan Gum: Common and effective in small amounts.
- Guar Gum: Works similarly to xanthan gum, with a slightly softer texture.
- Psyllium Husk Powder: Adds structure and moisture retention.
- Eggs: Provide natural binding and improve rise.
Adjusting Liquid and Fat Content
Gluten-free flours often require slightly more liquid and fat to maintain a moist crumb:
- Add an extra egg or egg white for structure.
- Increase milk or other liquid by 10–15%.
- Consider using oil instead of butter for longer-lasting moisture.
Step-by-Step Guide to a Moist Gluten-Free Cake
Step 1: Prepare Your Ingredients
- Measure flours accurately using a kitchen scale.
- Bring eggs and dairy to room temperature.
Step 2: Mix Dry Ingredients
- Whisk together all flours, baking powder/soda, salt, and binder.
Step 3: Cream Butter and Sugar
- Beat until light and fluffy for good air incorporation.
Step 4: Add Eggs and Flavorings
- Add eggs one at a time, then mix in vanilla or other extracts.
Step 5: Alternate Dry and Wet Additions
- Mix in dry ingredients and liquids in alternating portions.
- Avoid overmixing — gluten-free batters don’t need extended beating.
Step 6: Bake Immediately
- Gluten-free batters can thicken quickly, so get them in the oven as soon as they’re mixed.
Step 7: Test for Doneness
- Insert a toothpick into the center — it should come out clean or with a few moist crumbs.
Enhancing Flavor in Gluten-Free Cakes
- Add a teaspoon of espresso powder to chocolate cakes for depth.
- Use citrus zest for brightness.
- Experiment with spices like cinnamon, cardamom, or nutmeg.
- Incorporate pureed fruit for sweetness and moisture.
Avoiding the Gritty Texture
- Use superfine flours or grind your own in a food processor.
- Let batter rest for 20–30 minutes before baking to hydrate flours fully.
Storing Gluten-Free Cakes
- Store tightly wrapped at room temperature for up to 2 days.
- For longer storage, freeze slices wrapped individually in plastic and foil.
Common Mistakes in Gluten-Free Cake Baking
- Skipping the binder: Leads to crumbly cakes.
- Using too much coconut flour: Can result in dry, dense texture.
- Underbaking: Causes gummy centers.
Final Thoughts: Baking Without Boundaries
With the right flour blend, moisture balance, and flavor enhancements, gluten-free cakes can be every bit as satisfying as traditional ones. Once you master the basics, you can adapt almost any cake recipe to be gluten-free — opening up delicious possibilities for everyone at the table.

